Writing Your First Extension
We'll start by writing a simple C# console application using Visual Studio.
To begin, open Visual Studio; choose File, New, Project menu items; and then pick a .NET Framework console project. Because Shell Namespace Extensions are supported only on Windows, there's no point in choosing another framework, like .NET Core. Technically, however, you can use CBFS Shell in a .NET Core or .NET 5/6 application.
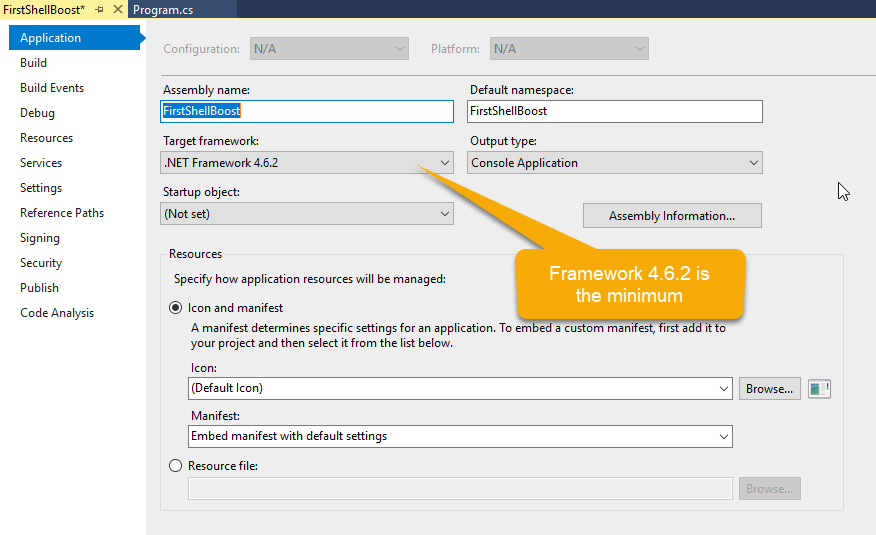
We recommend that you configure your project to build in "Any CPU" mode and uncheck the "Prefer 32-bit" setting. This will ensure that your .exe will run as a 32-bit process on a 32-bit machine and as a 64-bit process on a 64-bit machine.

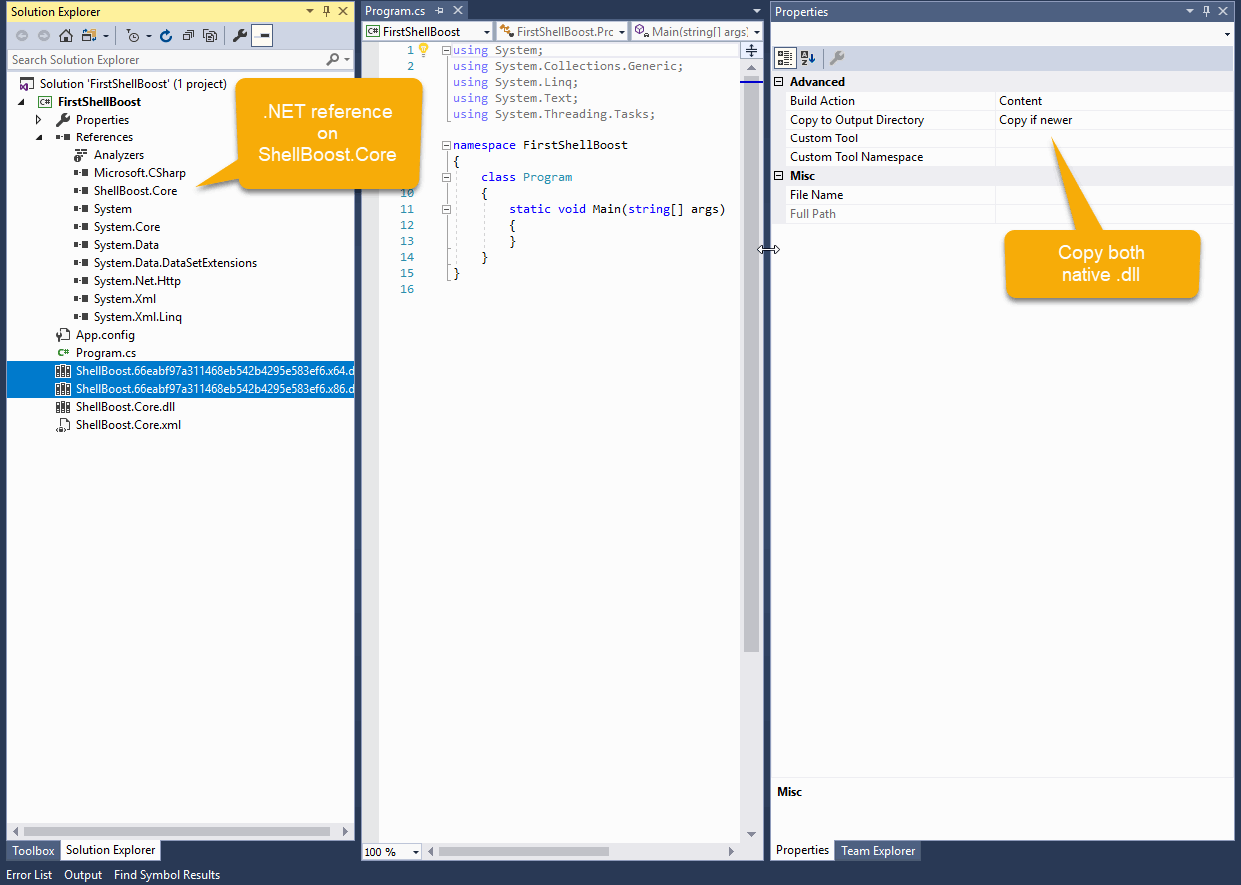
- Copy the following CBFS Shell files under your project's root:
- CBFSShell.<id>.x86.dll (CBFS Shell native proxy DLL, x86 processor architecture)
- CBFSShell.<id>.x64.dll (CBFS Shell native proxy DLL, x64 processor architecture)
- (optional) CBFSShell.<id>.ARM64.dll (CBFS Shell native proxy DLL, ARM64 processor architecture)
- callback.CBFSShell.dll (CBFS Shell .NET)
- callback.CBFSShell.xml (for CBFS Shell API help autocompletion)
- Reference callback.CBFSShell.dll as a .NET reference.
Installation and Initialization of the DLL
A proxy DLL should be registered in the system before it is used. To register the proxy DLL, use the special CBShellBoost component and its Install method. Installation should be done at least once before using the library on a new system, but may be done several times (e.g., to update the information).
Shell Folder Server
The heart of any CBFS Shell program (console or other) is a
running instance of a CBFS Shell ShellFolderServer .NET class. As the
name implies, this class will serve folders (and items) to the Windows Shell.
First, we need to create the implementation class that derives from that class, as follows:
public class MyShellFolderServer : ShellFolderServer // this base class is located in callback.ShellBoost.Core
{
}
Note: This does not compile, because we must override the GetRootFolder() method. First, however, we need to define what our root folder will be.
Root Folder
The root folder is located at the top of the folders and items hierarchy for your Namespace Extension. It is represented by a class that must derive from the CBFS Shell RootShellFolder class:
public class MyRootFolder : RootShellFolder  // this base class is located in callback.ShellBoost.Core
{
    // we want to keep a reference on our custom ShellFolderServer
    public MyRootFolder(MyShellFolderServer server, ShellItemIdList idList)
        : base(idList)
    {
        Server = server;
    }

    public MyShellFolderServer Server { get; }
}
Next, we can override the GetRootFolder() method of
our Shell Folder Server, as follows:
public class MyShellFolderServer : ShellFolderServer
{
    private MyRootFolder _root;

    // only the Shell knows our root folder PIDL
    protected override RootShellFolder GetRootFolder(ShellItemIdList idl)
    {
        if (_root == null)
        {
            _root = new MyRootFolder(this, idl);
        }
        return _root;
    }
}
The root folder
class can derive from the base ShellFolder class instead of the
specialized RootShellFolder class. In this case, the code is similar:
public class MyRootFolder : ShellFolder  // this base class is located in callback.ShellBoost.Core
{
    // reference to the ShellFolderServer is now available as the FolderServer instance property
    public MyRootFolder(ShellItemIdList idList)
        : base(idList)
    {
    }
}
Then, we can override the GetFolderAsRoot() method of our Shell Folder Server, as follows:
public class MyShellFolderServer : ShellFolderServer
{
    private MyRootFolder _root;

    // only the Shell knows our root folder PIDL
    protected override ShellFolder GetFolderAsRoot(ShellItemIdList idl)
    {
        if (_root == null)
        {
            _root = new MyRootFolder(idl);
        }
        return _root;
    }
}
That completes the process to create the Shell folder server and the root folder. Next we must write code to register and start the Shell folder server.
Program Startup
For a console application, program startup is simple. You just need to register and start the Shell Folder Server custom class that you already created and then let it run "forever". In our sample, we can terminate the program when the user presses the ESC key on the keyboard.
To register (and unregister) a Shell Namespace Extension, CBFS Shell provides utility methods that are located in the CBShellBoost component.
Consult the Deployment chapter for more information.
...
Init.Install();
...
Init.Uninstall();
...
The PerUserRegistration property can be true or false. If you choose true, registration will take place in the HKEY_CURRENT_USER registry hive. If you choose false, registration will take place in the HKEY_LOCAL_MACHINE registry hive. We recommend avoiding Machine registration because it requires elevated permissions for the process that runs this code.
Starting the server is accomplished using the following code:
Init.Initialize();

using (var server = new MyShellFolderServer())
{
    var config = new ShellFolderConfiguration();   // this class is located in callback.ShellBoost.Core
    server.Start(config); // start the server
    Console.WriteLine("Started. Press ESC to stop.");
    while (Console.ReadKey(true).Key != ConsoleKey.Escape)
    {
    }
    Console.WriteLine("Stopped"); // end of program
}
As you can see, starting the server is quite simple. Note: The ShellFolderServer class is disposable; hence, the using code block.
Following is the complete code in program.cs:
using System;
using System.Collections.Generic;
using callback.CBFSShell;
using callback.ShellBoost.Core;
using callback.ShellBoost.Core.WindowsShell;

namespace FirstShellBoost
{
    class Program
    {
	    static callback.CBFSShell.CBShellBoost Initializer;

        static void Main(string[] args)
        {
		    // Register the extension
		    Initializer = new callback.CBFSShell.CBShellBoost();
            SFGAO DefaultAttributes = SFGAO.SFGAO_FOLDER
                    | SFGAO.SFGAO_DROPTARGET
                    | SFGAO.SFGAO_HASSUBFOLDER
                    | SFGAO.SFGAO_STORAGEANCESTOR
                    | SFGAO.SFGAO_STORAGE
                    | SFGAO.SFGAO_STREAM;
		    Initializer.Install("{0D0C11AE-0005-0000-0000-0000AE110C0D}", true, "My CBFS Shell project", "MyComputer", "", (long) DefaultAttributes);

            Console.WriteLine("Registered");

            Initializer.Initialize("{0D0C11AE-0005-0000-0000-0000AE110C0D}");
            using (var server = new MyShellFolderServer())
            {
                var config = new ShellFolderConfiguration();   // this class is located in callback.ShellBoost.Core
                server.Start(config); // start the server
                Console.WriteLine("Started. Press ESC to stop.");

                while (Console.ReadKey(true).Key != ConsoleKey.Escape)
                {
                }
               Console.WriteLine("Stopped"); // end of program
            }

           // uncomment these lines to unregister the namespace extension

           //Initializer.Uninstall("{0D0C11AE-0005-0000-0000-0000AE110C0D}", true);
           //Console.WriteLine("Unregistered");
        }
    }

    public class MyShellFolderServer : ShellFolderServer // this base class is located in callback.ShellBoost.Core
    {
        private MyRootFolder _root;

        // only the Shell knows our root folder PIDL
        protected override RootShellFolder GetRootFolder(ShellItemIdList idl)
        {
            if (_root == null)
            {
                _root = new MyRootFolder(this, idl);
            }
            return _root;
        }
    }

    public class MyRootFolder : RootShellFolder  // this base class is located in callback.ShellBoost.Core
    {
        // we want to keep a reference on our custom ShellFolderServer
        public MyRootFolder(MyShellFolderServer server, ShellItemIdList idList)
            : base(idList)
        {
            Server = server;
        }

        public MyShellFolderServer Server { get; }
    }
}
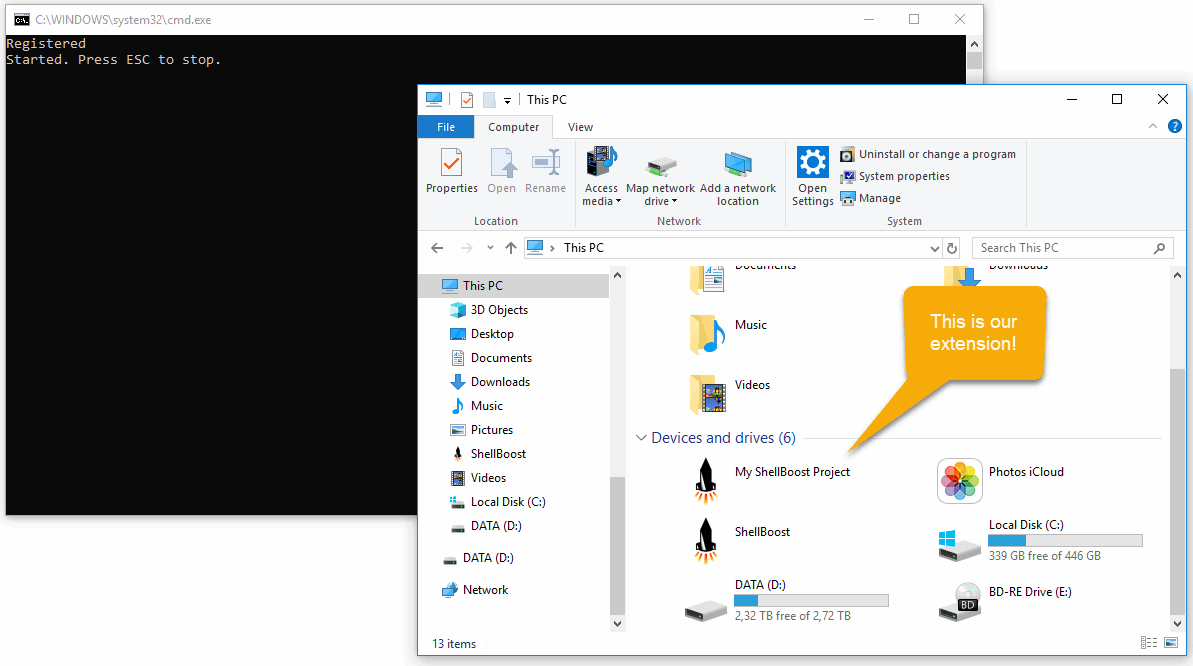
If you build and run the code, open Explorer, and select "This PC", you should see the following:
If you open "My CBFS Shell Project", you should see an empty
directory. This is expected: we don't provide any content yet. Next add two shell items to our root folder's code.
Press ESC in the console application to stop serving files (Explorer windows may stay opened) and add the following lines:
public override IEnumerable<ShellItem> EnumItems(SHCONTF options)
{
    // note: by default, CBFS Shell uses the key/ID value as the display name if it's not explicitly defined
    yield return new ShellFolder(this, new StringKeyShellItemId("My First Folder"));
    yield return new ShellItem(this, new StringKeyShellItemId("My First Item"));
}
You can rebuild and run the application again. Switch to Explorer and press Refresh (F5 key), after which you should see something similar to the following screenshot:
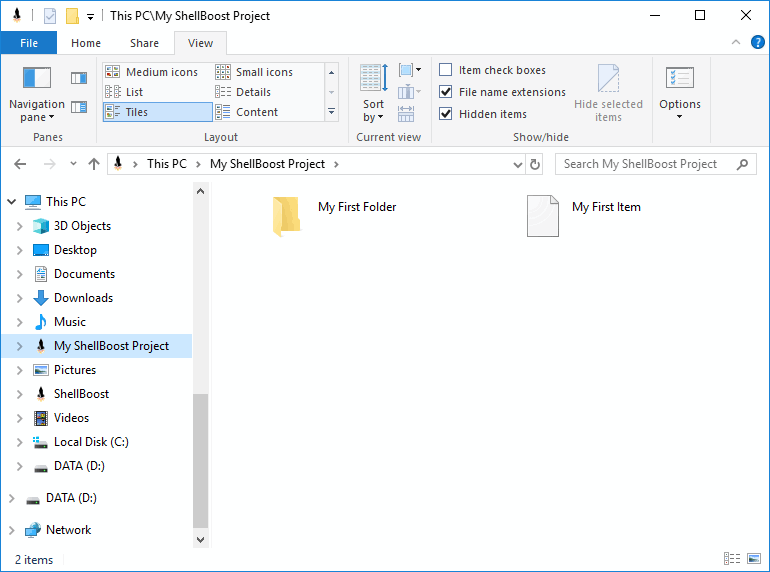
You've just created a Shell Namespace Extension that has fully virtual items (not related to physical files).